Installing with SQL Server on a non-Microsoft platform was a dream just a few years ago. With the release of SQL Server 2017, Microsoft made it possible to directly install SQL Server on Unix-based operating systems. Since MacOS is Unix-based, we can directly install SQL Server on it using Docker.
In this post, we will install the preview version of SQL Server 2019 on macOS Mojave. We will use Docker to run SQL Server and look at available tools to work with a SQL database.
Table of contents
Install Docker
Firstly, download and install Docker Desktop for Mac. It is free for personal projects.
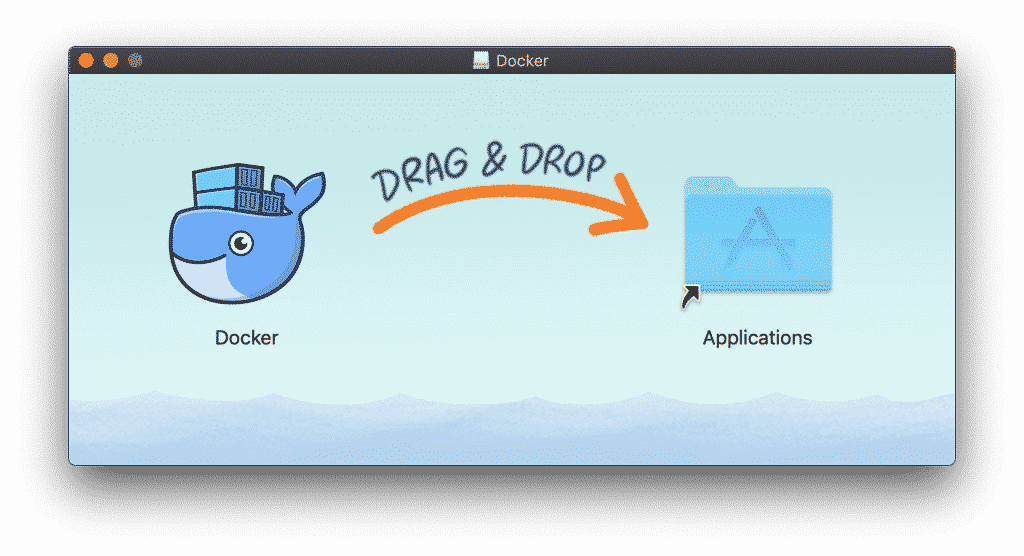
Install it by opening the .dmg file and move the Docker icon into Applications folder as shown below:

Launch Docker and you should see the docker icon in the MacOS menu bar.
Download SQL Server 2019
Open the Terminal and execute the following to pull the preview version of SQL Server 2019 container image for Ubuntu.
docker pull mcr.microsoft.com/mssql/server:2019-latestCode language: Bash (bash)The container image is a substantial download (~2GB) so it might take a while.
Consider making yourself a cuppa in the mean time!
Install SQL Server
Install the downloaded docker image using the following in the terminal.
sudo docker run -e 'ACCEPT_EULA=Y' -e 'SA_PASSWORD=MyStrongPassword@1' -p 1433:1433 --name sqlserver2019 -d mcr.microsoft.com/mssql/server:2019-latestCode language: Bash (bash)A few things to note here:
-e ACCEPT_EULA=Yindicates that you agree to Microsoft’s EUA (End User Licence Agreement).-e SA_PASSWORDis where you set the system administrator password for SQL Server. The password must be at least 8 characters long and contain characters from three of the following four sets: uppercase letters, lowercase letters, numbers & symbols.-pflag allows the 1433 to be used as the TCP port number.--namesets the instance name to sqlserver2019.-druns docker in deamon mode, used to run the container in the background.
Once the command executes, you can confirm the installation by running docker ps -a

Start the container with command:
docker start sqlserver2019Code language: Bash (bash)Executing SQL Queries
Microsoft recommends the use of sqlcmd to connect to SQL Server on Mac.
Use the following command to start an interactive shell inside your newly installed container:
sudo docker exec -it sqlserver2019 "bash"Code language: Bash (bash)Once you are in the container, you can finally connect to SQL Server locally:
/opt/mssql-tools/bin/sqlcmd -S localhost -U SA -P 'MyStrongPassword@1'Code language: Bash (bash)If successful, you will get >1 response, which allows you to run SQL commands.
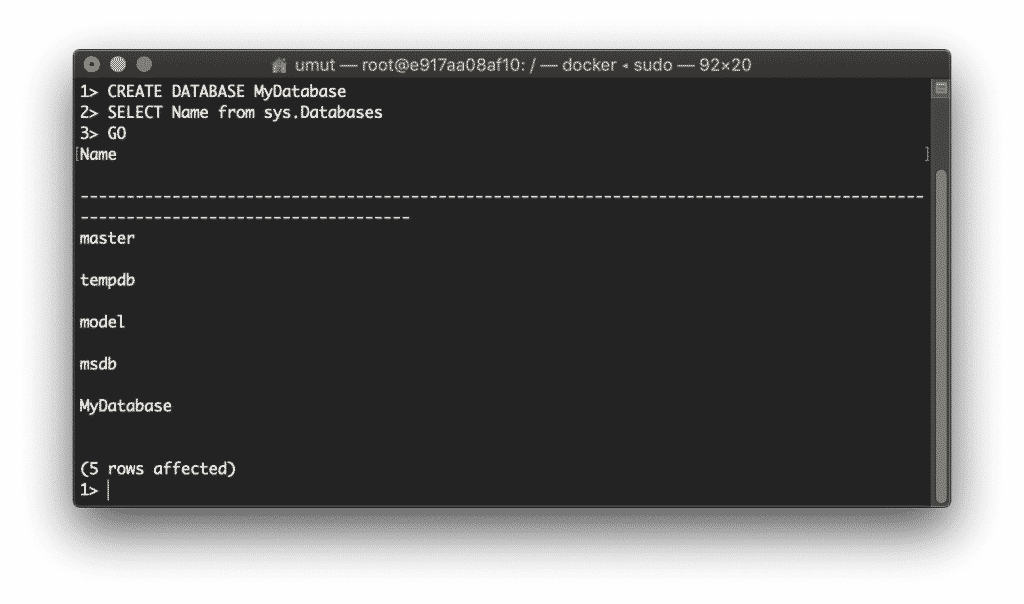
Execute the following SQL commands one by one:
CREATE DATABASE MyDatabase
SELECT Name from sys.Databases
GOCode language: SQL (Structured Query Language) (sql)
You can pretty much run any SQL command using sqlcmd.
Although the command line works well, I prefer to use a GUI-based application to manage databases. SQL Server Management Studio is my primary choice for managing databases on Windows but it comes to mac, I use SQLPro for MSSQL nowadays.
Another alternative is DataGrip from JetBrains, which is pretty close to SSMS experience in Windows.
Connection string example
If your application needs to connect to SQL Server locally, the following connection string will be useful:
Server=localhost,1433;Database=MyAwesomeApp;User=sa;Password=MyStrongPassword@1So there you have it, you can now work with SQL Server databases natively on your Mac!


I do not even know how Ι ended up here, but I thought this post was great.
I do not know who you are but certainly you’re
going too a famous blogger if you are not already 😉
Great post! I already had 2017 installed but it’s nice to know that 2019 is supported.